Part 5: FTP Services Setup for File Download and Uploads
FTP as a protocol was designed to be convenient and that leads to security issues. The fundamental problem
is that traffic is not encrypted. That means the username, password and the file content a visible to
anyone that can monitor (sniff) the FTP packets. It is also possible for someone who is monitoring packets
to insert packets and either disrupt of corrupt a transmission.
There are a number of secured file transfer protocols. In Part 4 you installed "SSH copy" to upload web content.
This is FTP running safely inside an encrypted SSH channel. The problem with "secure" FTP is there
are many implementations. If you want to share files with a wide audience it is difficult to ensure
everyone has right protocol or is even able to install a client that can access your secured server. In
the end it is easier to install simple FTP and secure it the best we can.
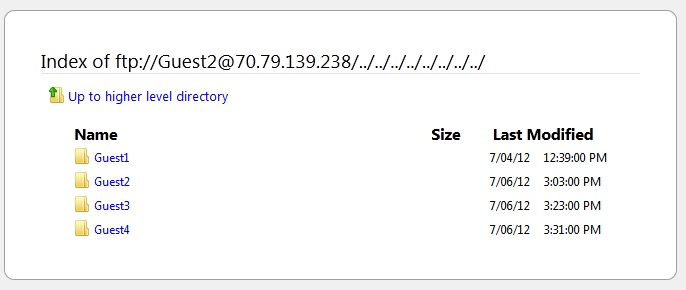
The implementation that follows disables "anonymous" access and requires remote users to log into a guest
account that you enable (and disable). The remote user can read (download) and write (upload) files in
their own directory. They cannot see any other parts of your server, that is, not allowed "Up to higher
level directory". They also are not allowed to see each other's directories. They are "jailed" in their
home directories.
To prepare my system I created a /data path (owner by root) and put a /ftp path under that (owned by an
webberftp group).
From your SSH console:
Create the data directory
sudo mkdir /data
Create the webberftp group and a dummy user for the /ftp directory
sudo groupadd ftpsooty
sudo useradd -m -d /data/ftp -g ftpsooty ftpsooty
...note that the -m option creates the /ftp directory with the right ownership
Install the vsftpd services
sudo apt-get install vsftpd
You now have a fully operational FTP but it only provides "anonymous" access. We don't want everyone in
the same directory - we want everyone with their own secure directories...so we must change the configuation file.
Edit vsftpd.conf
sudo nano /etc/vsftpd.conf
..find this block
#
# Allow anonymous FTP? (Beware - allowed by default if you comment this out).
anonymous_enable=YES
#
# Uncomment this to allow local users to log in.
#local_enable=YES
#
# Uncomment this to enable any form of FTP write command.
#write_enable=YES
#
...change to:
#
# Allow anonymous FTP? (Beware - allowed by default if you comment this out).
anonymous_enable=NO
#
# Uncomment this to allow local users to log in.
local_enable=YES
#
# Uncomment this to enable any form of FTP write command.
write_enable=YES
#
...to jail FTP users in their home directories uncomment the line #chroot_local_user=YES
#
# You may restrict local users to their home directories. See the FAQ for
# the possible risks in this before using chroot_local_user or
# chroot_list_enable below.
chroot_local_user=YES
#
...to allow users to upload files into their private directory
...and fix the "500 OOPS: vsftpd: refusing to run with writable root inside chroot()" error
...add this at the end of the conf file:
# local_root=/data/ftp
#
Restart the vsftpd service
sudo /etc/init.d/vsftpd restart
Create the FTP user accounts
...-m make the -d directory and assign user to -g group
sudo useradd -m -d /data/ftp/Guest1 -g ftpsooty Guest1
sudo useradd -m -d /data/ftp/Guest2 -g ftpsooty Guest2
sudo useradd -m -d /data/ftp/Guest3 -g ftpsooty Guest3
sudo useradd -m -d /data/ftp/Guest4 -g ftpsooty Guest4
...these accounts have no passwords so they are disabled
Enable a guest account
sudo passwd Guest1
...giving the account a password enables it
Disabling a Guest account when it's no longer in use
sudo passwd -d username
...this makes the user's password empty
This is a quick way to disable an account. Without a password the user won't be able
to do a normal login (i.e. FTP) login but they can still get in using SSH access
if they have a key (security problem).
To block all access set the user shell to nologin
sudo usrmod -s /sbin/nologin username
To completely disable user Guest1:
sudo passwd -d Guest1
sudo usrmod -s /sbin/nologin Guest1
To Kill a logged in user:
sudo pkill -KILL -u Guest1
To re-enable user Guest1:
sudo usrmod -s /bin/bash Guest1 ...re-enables standard bash shell
sudo passwd Guest1 ...and set the new password
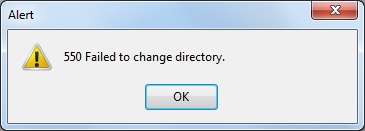
We now have a FTP that locks in the user. If they try to go "Up" they just see /../../
If they try to look in each other's directories they get a 550 error:
Now that we have our FTP services installed and secure we can move onto Mail services.