|
Medium versus High Vacuum Chambers
For high vacuums in the sub-microTorr range you will need to invest
serious money, time and effort to construct proper vacuum chambers.
Choice of materials is critical because the slightest contamination
or outgasing from the chamber walls will ruin your vacuum. You are
pretty much stuck with non-porous materials like stainless steel
and glass.
Plasma work typically needs 1 to 10 Torr and you
can build an excellent chamber out of plumbing supplies for a couple
of bucks. These chambers will work well down to the 50 milliTorr
limit of the automotive A/C vacuum pump I am using.
The Chamber
A word on implosions. They are like explosions except
the debris travels through your chamber shattering into tiny projectiles
before is exits the other side and impales you with bits of plastic.
Safety first around vacuums. Overbuild for strength and as you get
experience you can use lighter materials.
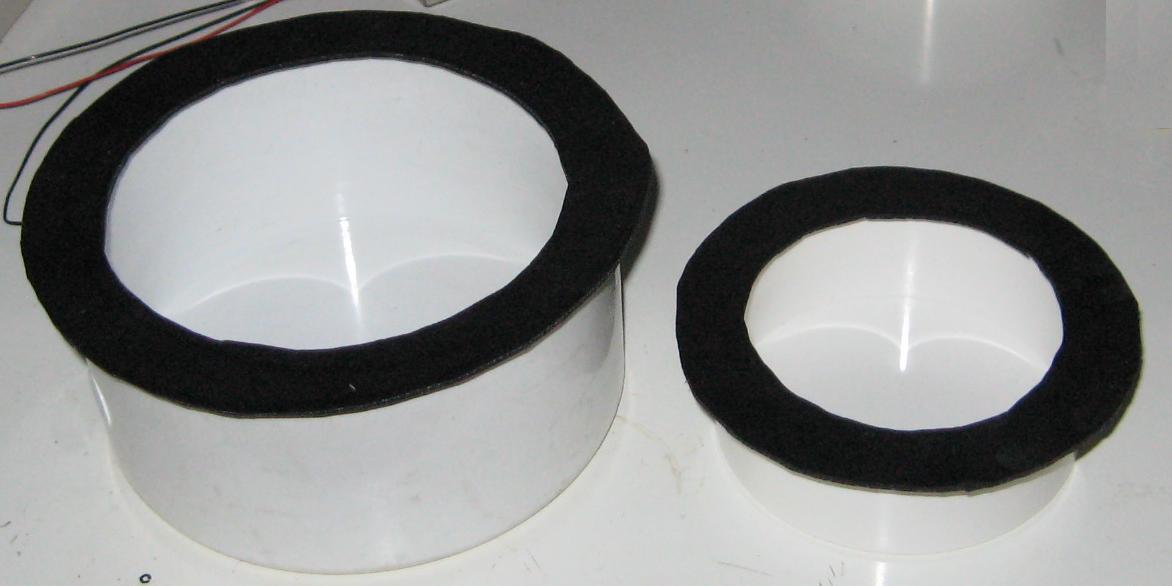
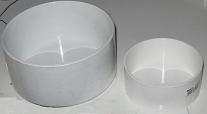
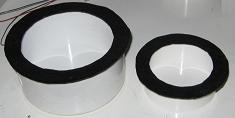
Build your chamber from white Schedule 40 PVC end
cap. 4" ones are $3 at any hardware store and 6" ones
are $15 at plumbing supply stores. Use end caps so you don't have
to seal the bottom. For a 4" chamber any scrap 1/4" plexiglas
will handle the vacuum without imploding. For a 6" chamber
get at least 5/8". Cut the plexiglas into plate that extend
over the edge of the PVC by at least 1" on all sides.
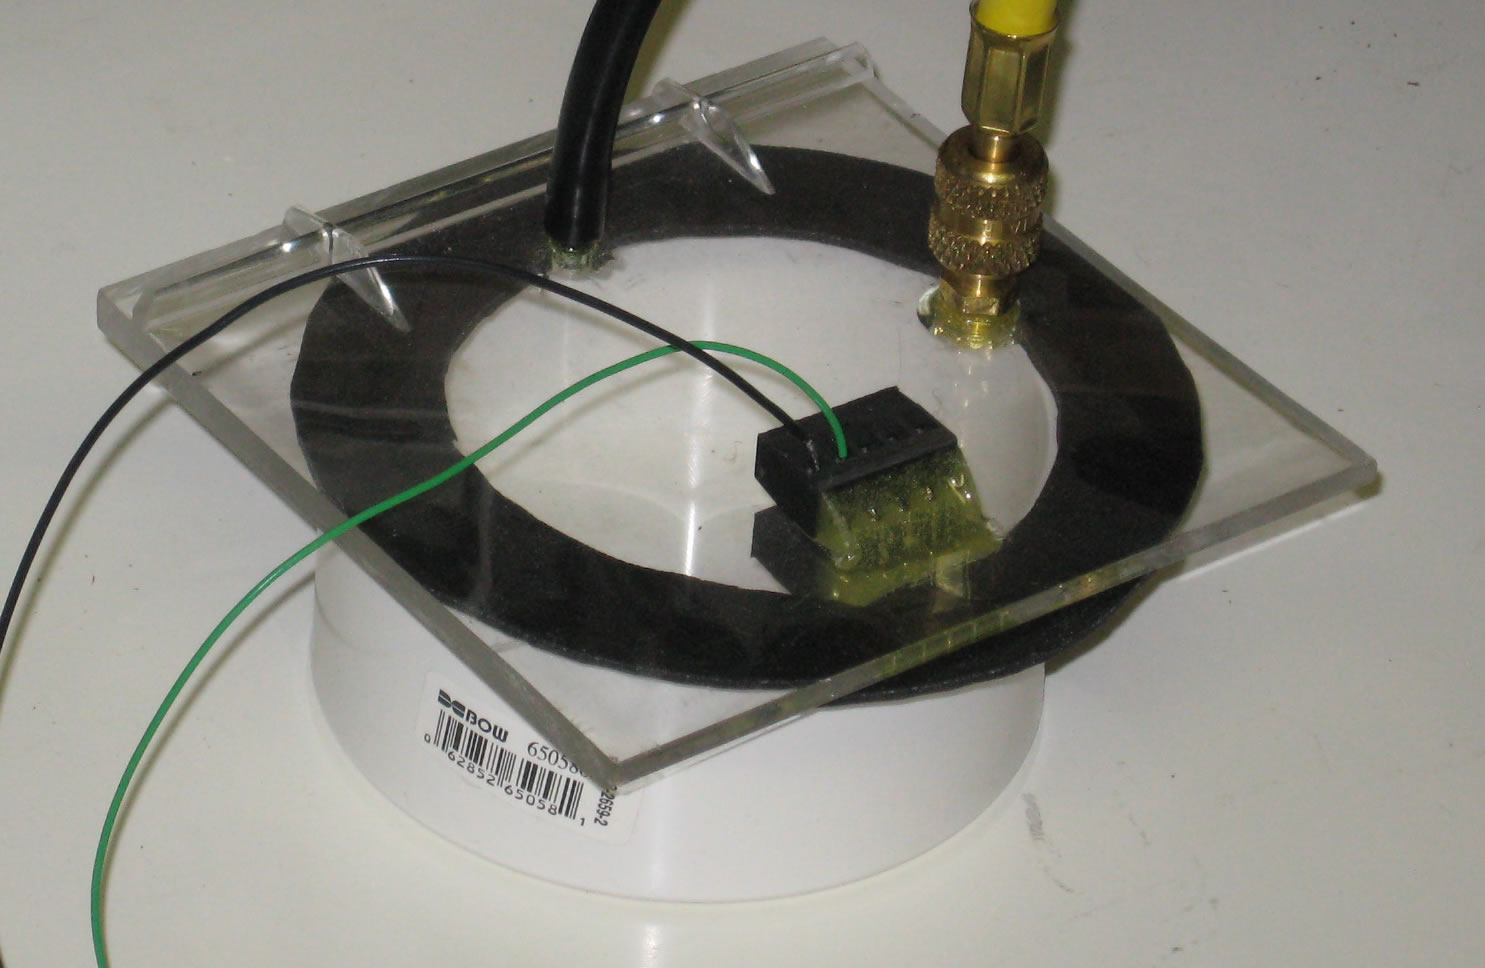
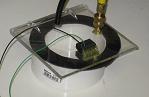
For the pump connection drill a 3/8" hole in
the plexiglas plate and use a 1/8" 27NPT Tap ($15) to thread
the hole. Screw in a 1/4" Flare to 1/8" Male Pipe Adapter
($3 for two) and seal the thread on the chamber side with a little
epoxy ($5 a tube). The 1/4" Flare is used with the hoses that
comes with the auto AC pumps and manifolds.
Drill a 1/8" hole in the plate for the vacuum
gauge. Get a male-male plastic Grip-Tite and cut off one end - you
now have a male Grip-Tite on one end and a 1/8" plastic tube
on the other. Force the tube into the plate and seal the chamber
side with epoxy.
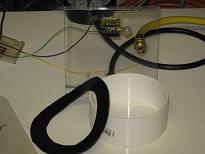
Sealing the Chamber
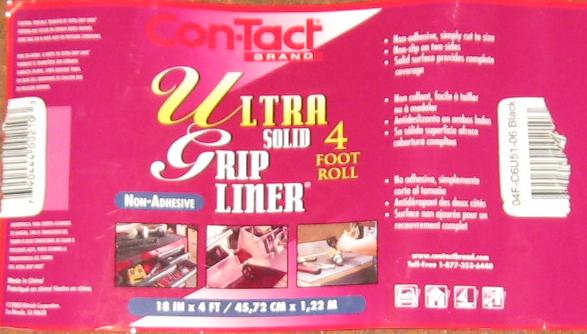
The seal between the plexiglas and PVC is neoprene
shelf liner (Contact Brand Ultra Solid Non-Adhesive Grip Liner).
That's the stuff mechanics put on their tool trays to keep the noise
down and get a soft landing when they toss tools on the tray. It
is black, shinny and spongy about a 1/16" thick. Costs about
$8 a roll. For a 6" chamber cut a ring out of the liner with
an outside diameter of 6.5" and an inside diameter of 5.5".
If you also have 4" chambers you can cut another ring out of
the discard with a 4.5" OD and 3.5" ID.
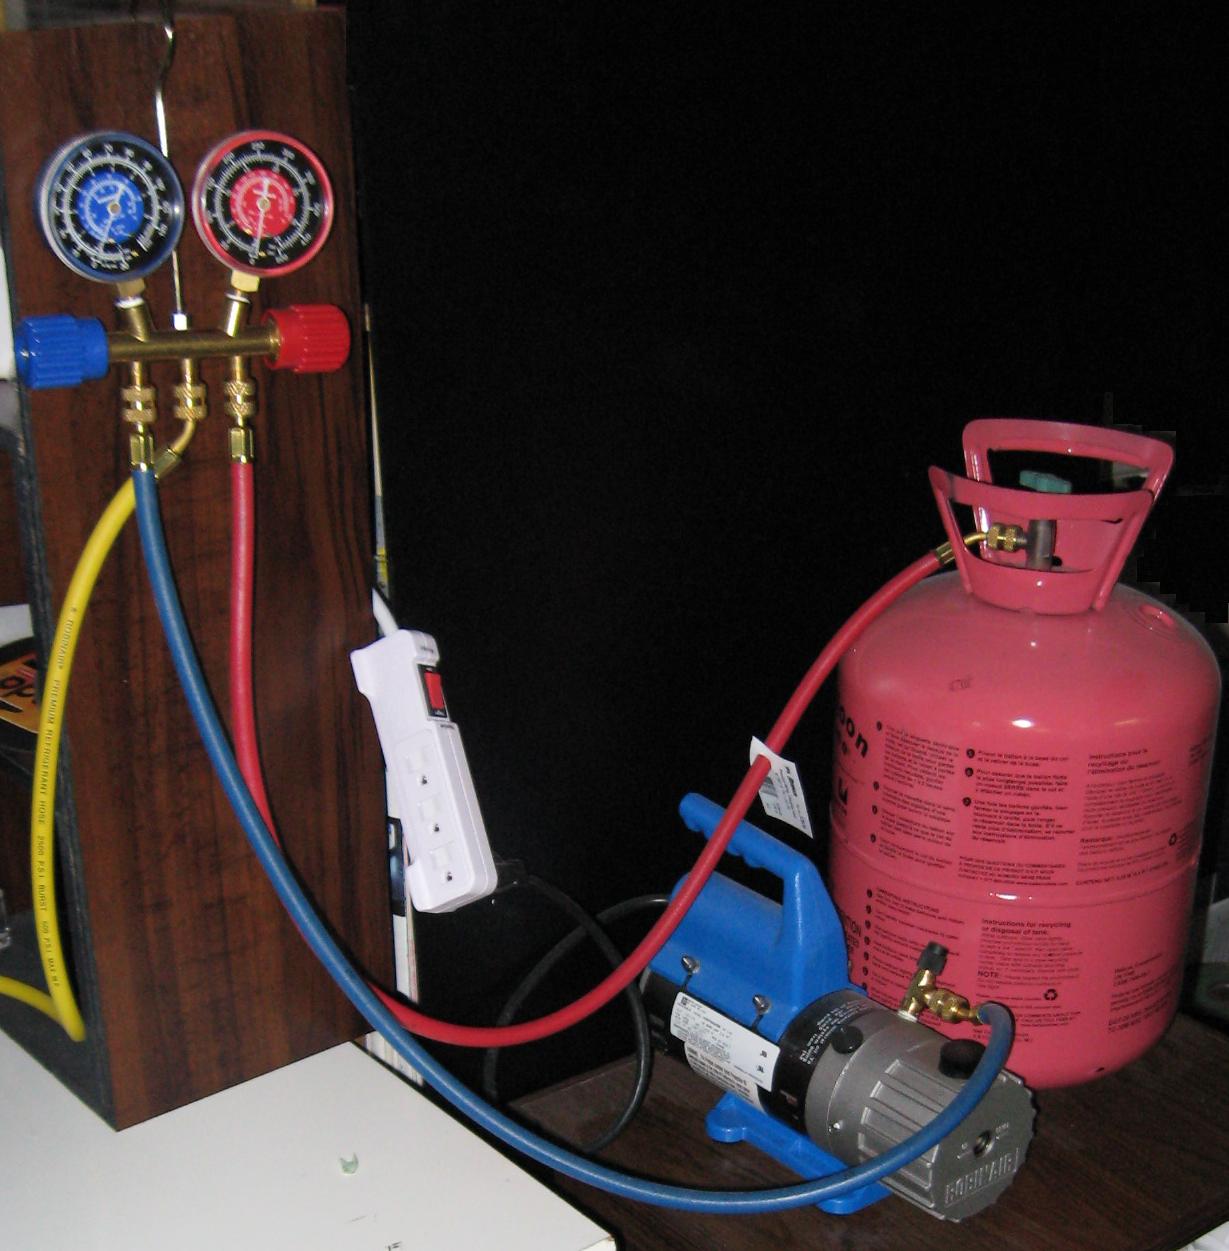
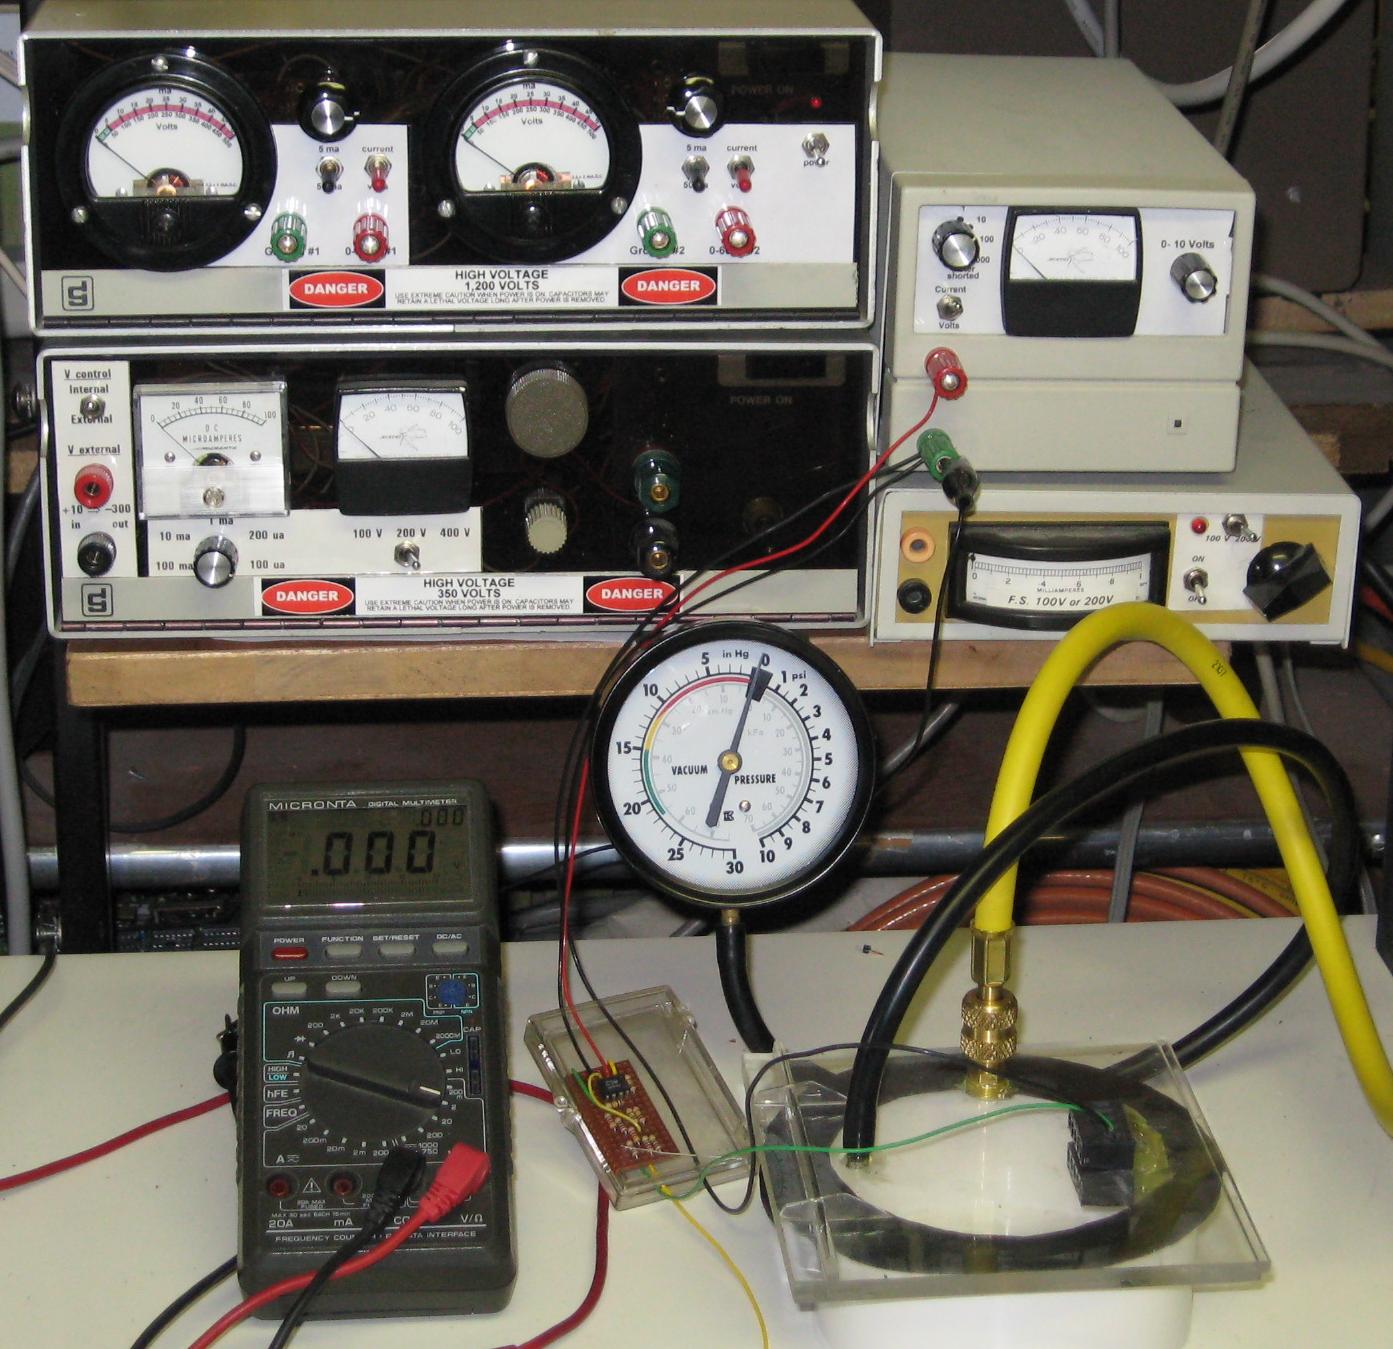
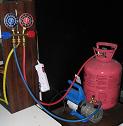
Connecting the Chamber to the Pump and Gases
You will need a manifold to connect your pump to the
chamber and to your source of inert gases. For automotive A/C work
they make manifolds that allow you to evacuate the air conditioner
then refill it with fresh Freon. These work perfectly for connecting
pumps to plasma chambers.
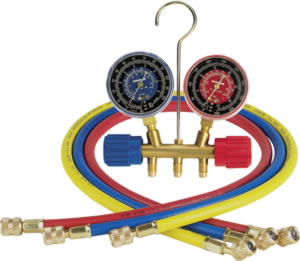
The vacuum gauges on the manifold are usually
-30 to 120 psi (red) and 0 to 500 psi (blue) which are pretty much
useless because you will be working in the -29.9 to -30 psi range.
What you need is a gauge that goes 270o
over the pumpdown range (0 to -30 psi). Buy an automotive vacuum gauge ($35).
The package usually comes with a 1/8" hose that should make a good seal with your
Grip-Tite. In another section I will show you how to make a Priani gage out of a
small incandescent lamp to cover the range 0,01 to 100 Torr.
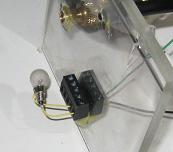
Signal and Power Lines into the Chamber
For electrical power and signals find a spool of thick
tinned copper wire. remove the plastic covering and find a drill
that is exactly the diameter of the wire. I soldered 5 conductor
junction blocks to both sides of the wires and epoxied the blocks
and the feed through wires into a block so nothing could wiggle
and break the seal.
Assemble and Pumpdown
You can now test the integrity of the vacuum chamber.
I started with a 4" PVC end cap and used no grease on the gasket.
My Robinair 2CFM pump achieved a full vacuum in very quick 25 seconds.
After closing off the pump side of the manifold the vacuum was still
at -30 psi 20 minutes later. This part of the project has worked
extremely well.

|